
- Engine out
- Bell-housing off
- Clutch off
- Flywheel off
- Mounted engine on stand using bell-housing bolt holes (M10x75 bolts. Use washers to protect the engine.)
- Intake plenum off
- Removed loom
- Fuel rail and injectors (undo nuts and pull)
- Coils and plugs
- Belt and tensioner
Next up was the first challenge - undo the front pulley nut using hand tools . I used a tremendous breaker bar on the pulley nut, and mounted a spanner as opposite lock on the flywheel, using one of the old flywheel bolts. The spanner was locked against one of the engine stand mounting points. It would have been a lot easier with an impact gun. The pulley bolt shouldn't be reused.


- Coolant rail + hoses
- Alternator
- Starter motor
- Oil cooler
- Thermostat
- Water pump
- PCV valve + cover
- Cam cover
- Front cover

- Exhaust cam sprocket.
- Cam chain
- Chain guides
- Oil pump chain tensioner
- Oil pump sprocket - tough one. I don't know why it was so tight on my engine.
- Cam/pump sprocket on main shaft - thin washer on each side.
 |
| Cam chain and oil pumps chain |
- Now finally I could remove the sump! Be careful with two bushes with five small o-rings that will fall out.


- Intake cam sprocket
- Cam caps and camshafts. Remember location and direction of cam caps.
- Cam buckets. Remember location of each bucket. The size of the bucket is written on the inside, write down for later.

- Head off. Torx 55 and breaker bar. But what is that really bad smell!?
 |
| Head off |
- Cotters, retainers, springs and valves. Remember location. Hint: Use a strong magnet to remove the cotters.
- I left the valve seats in place. Hopefully they can stay there.
 |
| Removing springs |
 |
| Ordning och Reda |
- Pistons - will be replaced. Torx 55. Mark them. Direction is already marked as arrows on top of the pistons.
 |
| Old pistons |
- Pistons big end bearings. These will also be replaced, but keep location and direction just in case?
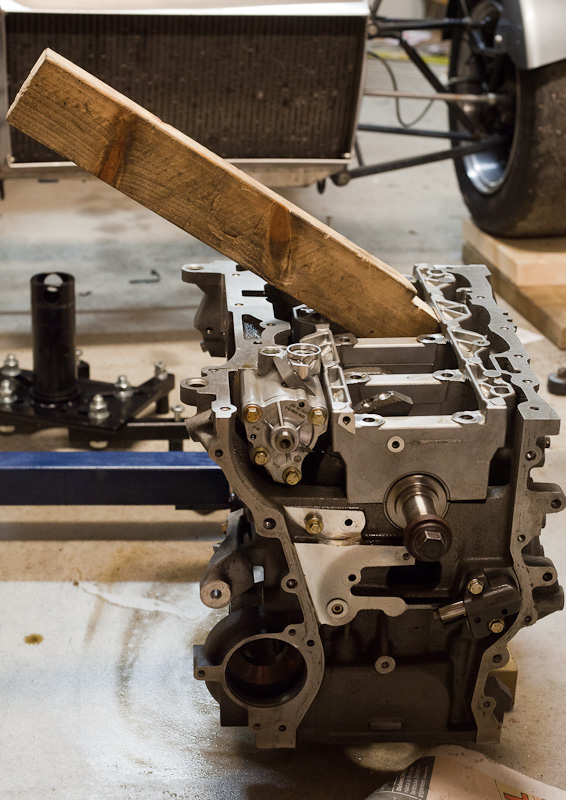
- Since I couldn't reach the crank rear seal bolts when the engine was mounted to the engine stand I took it down on the floor and put it on some pieces of wood. Now it was so light I could lift it myself. I also took the opportunity to measure crankshaft play. (0.28mm, spec is 0,22-0.43mm)

- Rear oil seal
- Crank bolts. Breaker bar and oomph!
- Crank cap. Used a piece of wood for leverage.
 |
| Crank cap |
- The crank! ~16 kg!
 |
| Crank shaft |
- Main bearings. Keep location and direction!
 |
| Main bearings |
- And... that's it!
Now I'll take the block and head to my local engine workshop for cleaning, honing and head port.
Next part - Engine upgrade part #3 - Parts
All parts:
Engine upgrade part #1 - intro
Engine upgrade part #2 - disassemble
Engine upgrade part #3 - parts
Engine upgrade part #4 - block assembly
Engine upgrade part #5 - head
Engine upgrade part #6 - putting it together
Engine upgrade part #7 - electrical and fuel
Engine upgrade part #8 - first start
Engine upgrade part #9 - final results
